The Ultimate Guide to Trimming Cannabis: Tips, Techniques, and Tools

Trimming cannabis is a crucial step in the cultivation process. It not only enhances the visual appeal of your buds but also improves their flavor, potency, and overall quality. Whether you’re a seasoned grower or a novice, mastering the art of trimming can make a significant difference in your final product. Here’s a comprehensive guide to help you trim cannabis like a pro.
Why Trimming is Important
1. Appearance: Well-trimmed buds look more appealing and are more likely to fetch a higher price if you’re selling.
2. Potency: Trimming removes excess leaves that contain less THC, ensuring that you’re left with the most potent parts of the plant.
3. Flavor and Smoothness: Removing the sugar leaves (small leaves that stick out of the bud) can enhance the flavor and make for a smoother smoke, as these leaves can make the smoke harsh.
4. Mold Prevention: Proper trimming helps reduce moisture and prevent mold during the curing process.
Tools You’ll Need
- Scissors: Invest in a good pair of trimming scissors. Curved-tip scissors are especially useful for getting into tight spaces.
- Gloves: Nitrile gloves are ideal to keep your hands from getting sticky.
- Trimming Tray: A tray with a screen can help collect kief (resin glands that fall off during trimming).
- Clean Surface: Ensure your trimming area is clean and well-lit.
- Storage: Use jars or bags to store your trimmed buds.
Wet Trimming vs. Dry Trimming
Wet Trimming:
- When: Trim immediately after harvesting.
- Pros: Easier to handle, less mess, quicker drying.
- Cons: Can be sticky, leaves might be more difficult to trim precisely.
Dry Trimming:
- When: Trim after the plant has dried.
- Pros: Leaves are easier to trim, less sticky, can result in a more precise trim.
- Cons: Buds are more delicate and can crumble, takes longer to dry initially.
Step-by-Step Trimming Process
1. Harvesting:
- Cut the branches off your plant.
- Decide whether you’ll be wet or dry trimming.
2. Manicuring:
- If wet trimming, start immediately after cutting the branches.
- If dry trimming, hang your branches upside down in a dark, well-ventilated space for 5-10 days until they’re dry.
3. Remove Fan Leaves:
- Use your hands or scissors to remove large fan leaves. These leaves have little to no resin and can be discarded.
4. Trim Sugar Leaves:
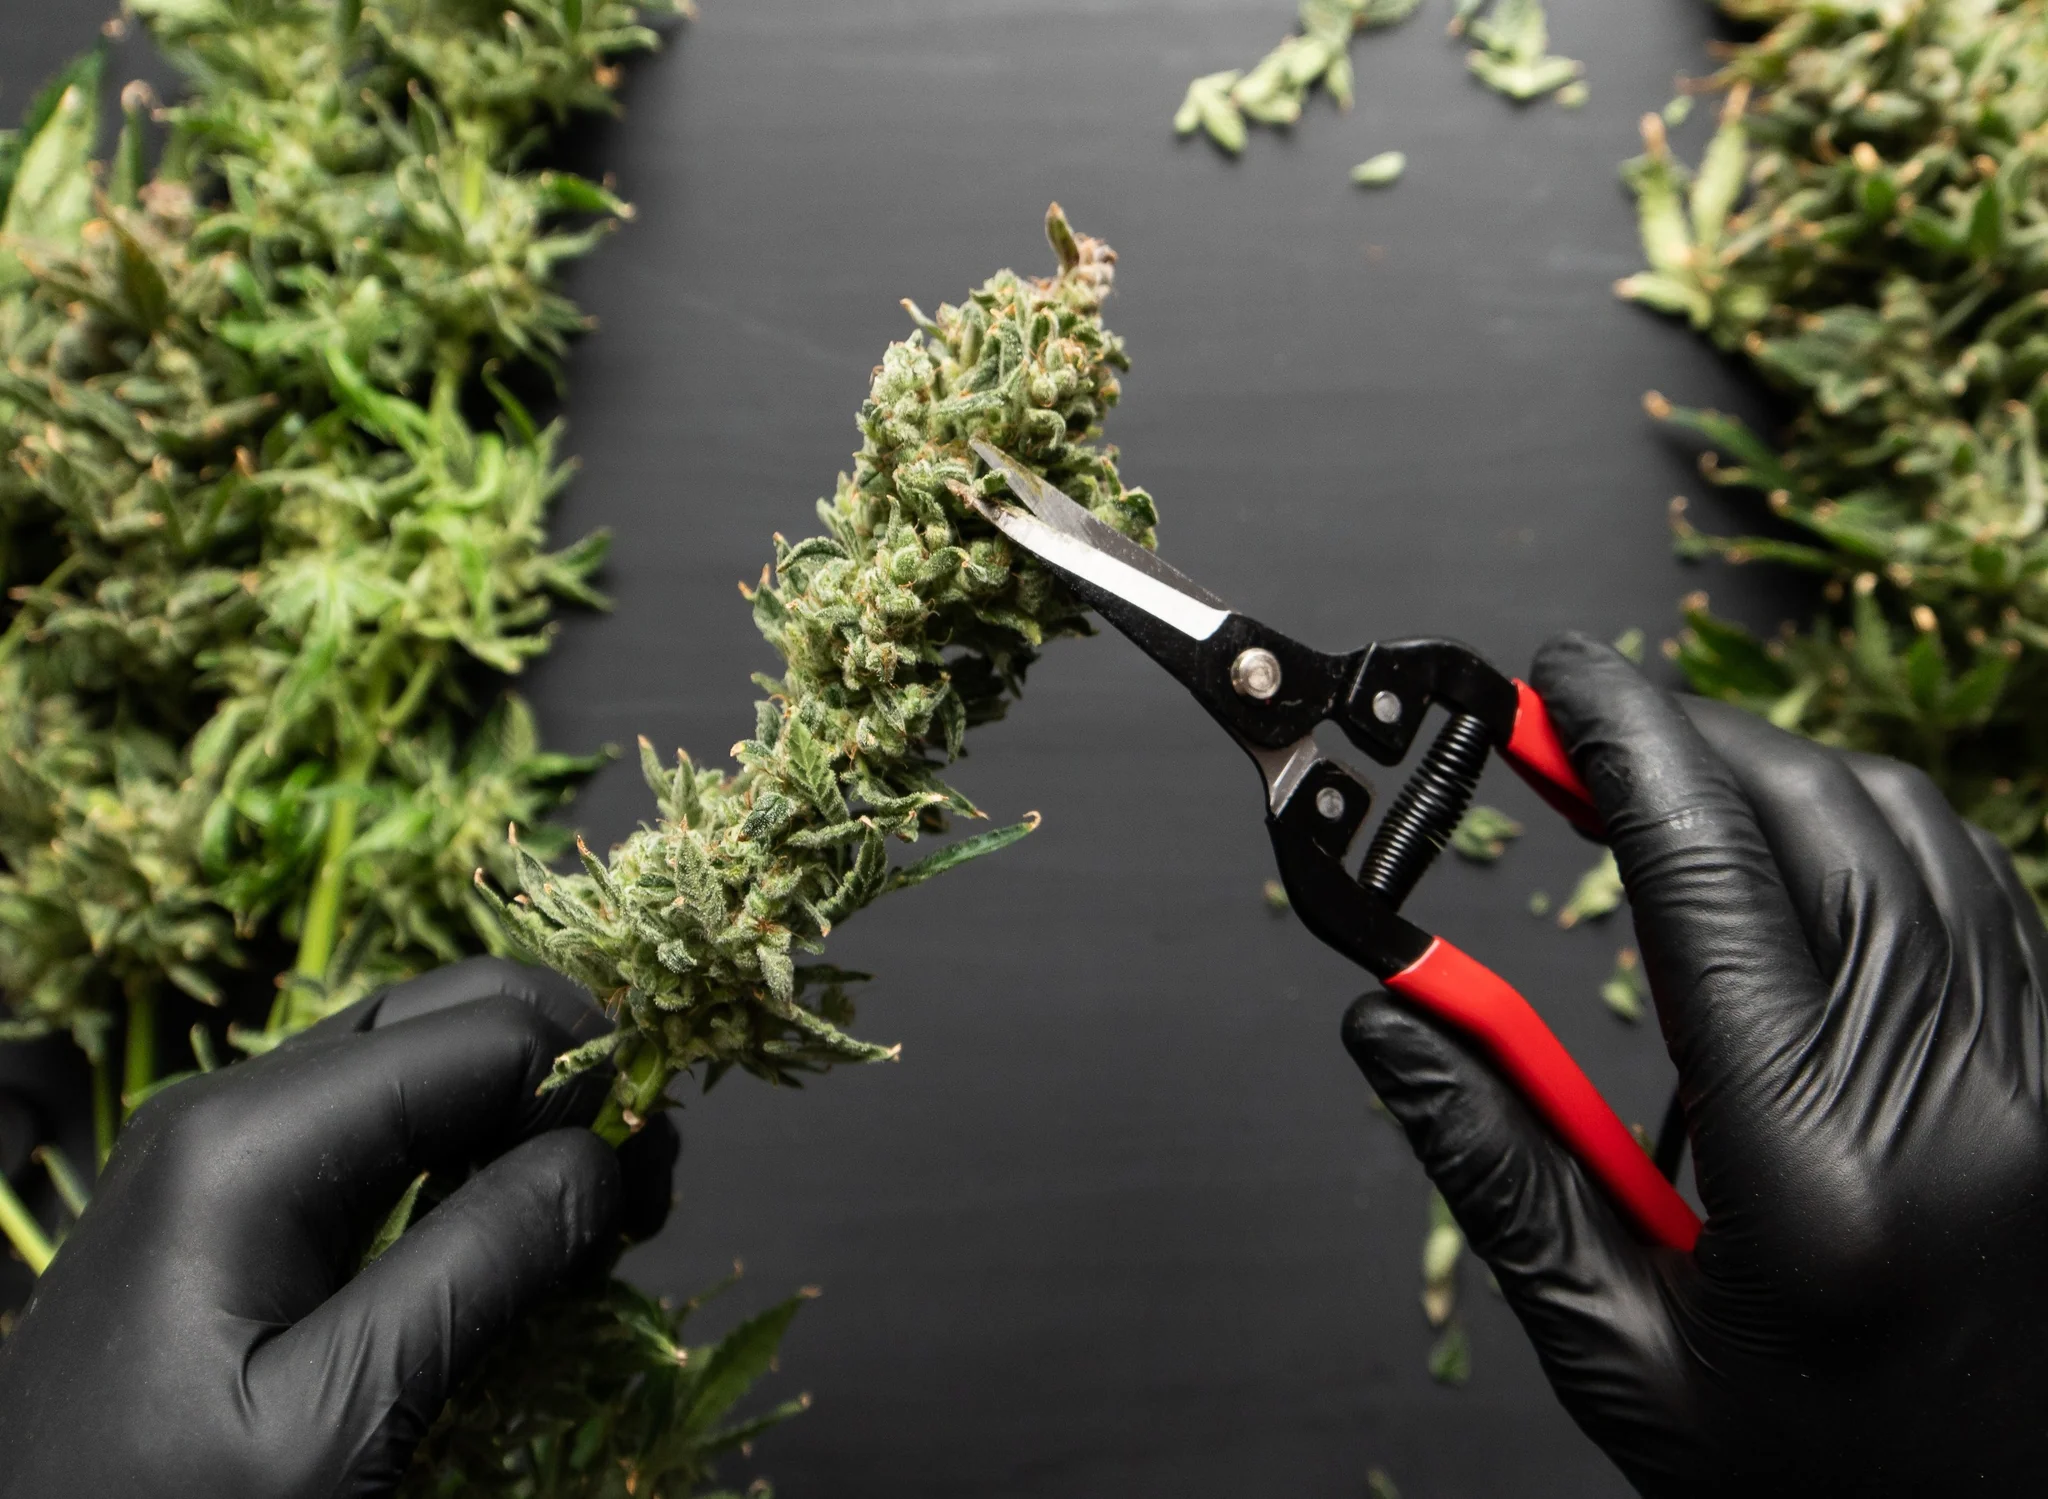
- Using your trimming scissors, carefully trim away the small sugar leaves.
- Aim to remove the leaves without cutting into the bud itself.
- Rotate the bud as you trim to get all sides evenly.
5. Collect Kief:
- Trim over a tray with a screen to collect any kief that falls off.
- This kief can be used for making edibles, concentrates, or sprinkled on top of a bowl.
6. Final Inspection:
- Give your buds a final once-over to ensure there are no remaining leaves.
- Aim for a tight, neat trim.
7. Curing:
- Place your trimmed buds in airtight jars.
- Store in a cool, dark place, opening the jars daily for the first week to allow moisture to escape.
- After the first week, you can open the jars less frequently, about once every few days.
Tips for Trimming Cannabis
- Stay Comfortable: Trimming can be a lengthy process, so ensure you’re comfortable. Sit in a well-lit area and take regular breaks.
- Keep Tools Clean: Resin can build up on your scissors, making them less effective. Keep a small jar of rubbing alcohol nearby to clean your tools as needed.
- Work in Small Batches: Trim one branch at a time to keep your work manageable and prevent the buds from drying out too quickly if you’re wet trimming.
- Store Trimmed Buds Properly: Use glass jars for long-term storage to maintain the quality and potency of your buds.
Conclusion
Trimming cannabis is an art that takes practice to perfect. With the right tools and techniques, you can produce beautifully manicured buds that are potent, flavorful, and aesthetically pleasing. Whether you prefer wet or dry trimming, the key is to be patient and meticulous. Happy trimming!
For more info be sure to visit, www.topshelfhemp.co

